IRONBARK POSTS AND BEAMS
Here is another update on my project Follow the Build Part 5.
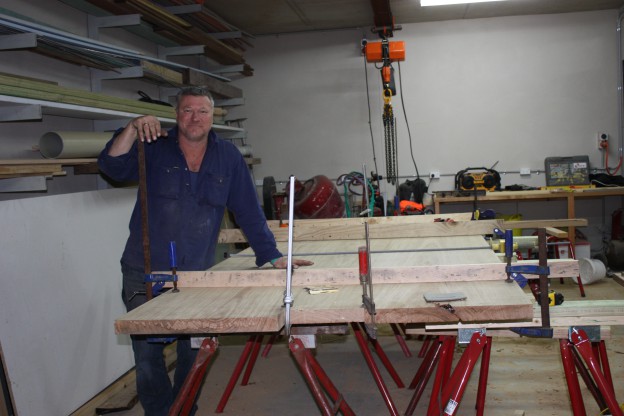
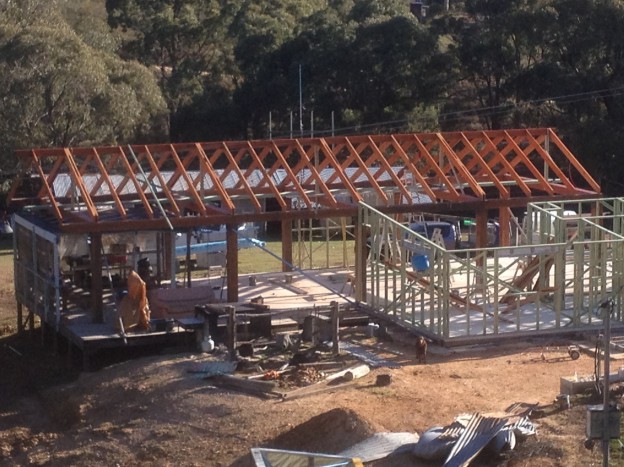
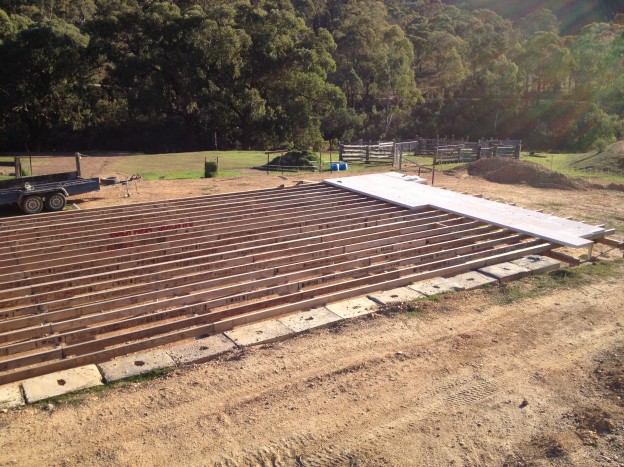
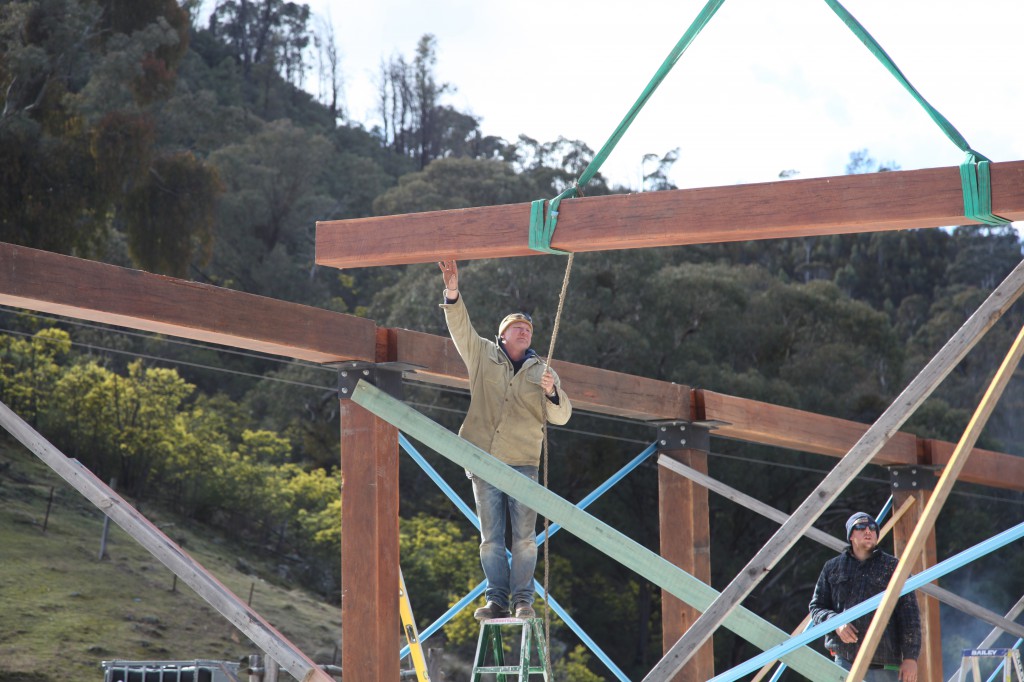
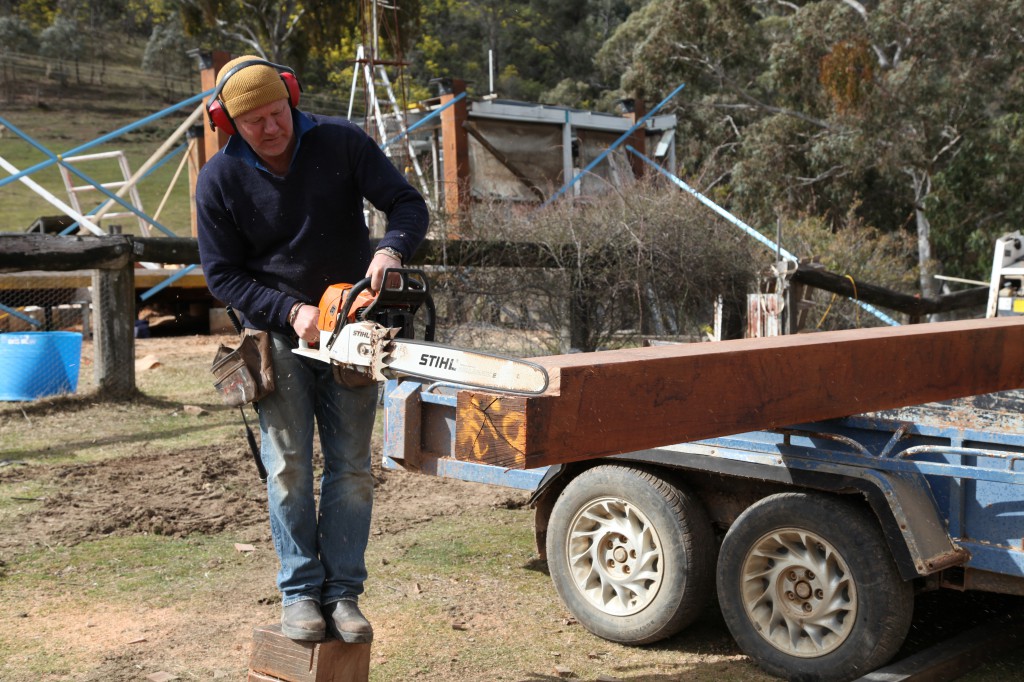
You would have read Follow the Build Part 4 where I was working on the floor frame. Well I’ve got to say, this is the ultimate in carpentry for me. The big ironbark timber (which you can see), have got that real pioneer building feel to it. It’s just what I love with 23 magnificent sticks of 300 x 300 ironbark. The cross member beams are at 6m long, perimeter beams at 4.5m and posts at 4m. The 6m beams weigh in about 2 tonnes so machinery is required to cut them. It’s too big for a circular saw so it’s a chain saw all the way.
First thing to do is to cut and stand the posts onto a concrete pier with a handmade stirrup prepared below the deck. The pier has a screw pier in the middle of it going down about 3m. So affectively the hardwood posts is secured 3m below the surface. These need to be secure as they are the structural basis of the entire lounge, dining and kitchen area.
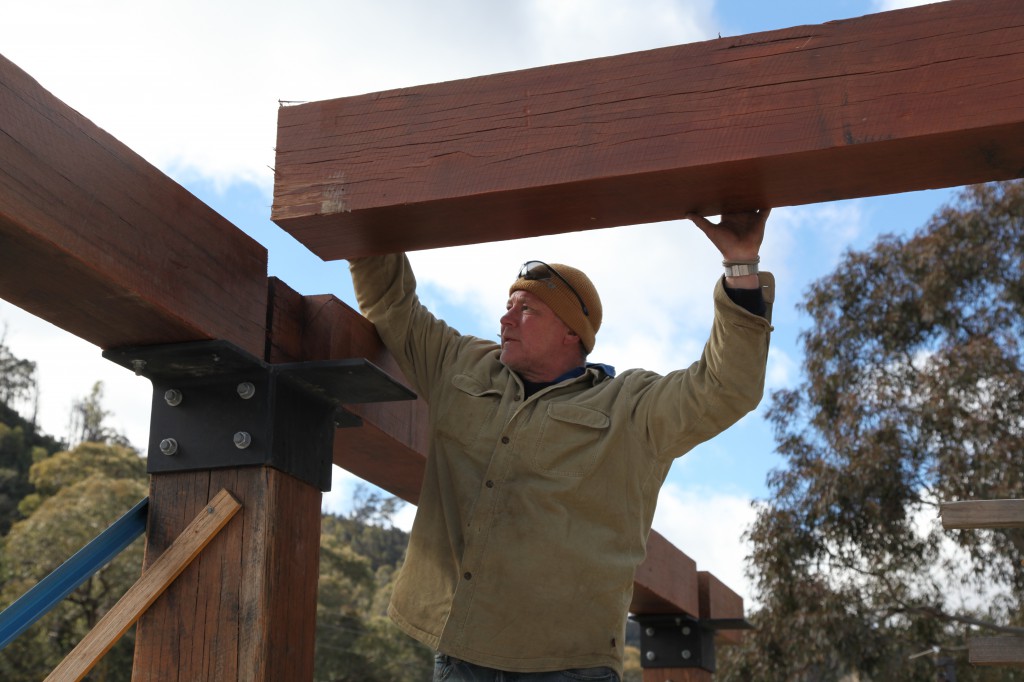
The perimeter beams and cross member need to be cut precisely to slot into each other. This timber is expensive so measure 5 times and cut once and don’t stuff it up! Because the timber is so big and I’m using a chain saw I can have a tolerance of about 5 mls but of course trying to get it as good as possible is key. All the cross members and perimeter beams are all in contact with the top of the posts so all the load is not on just the brackets.
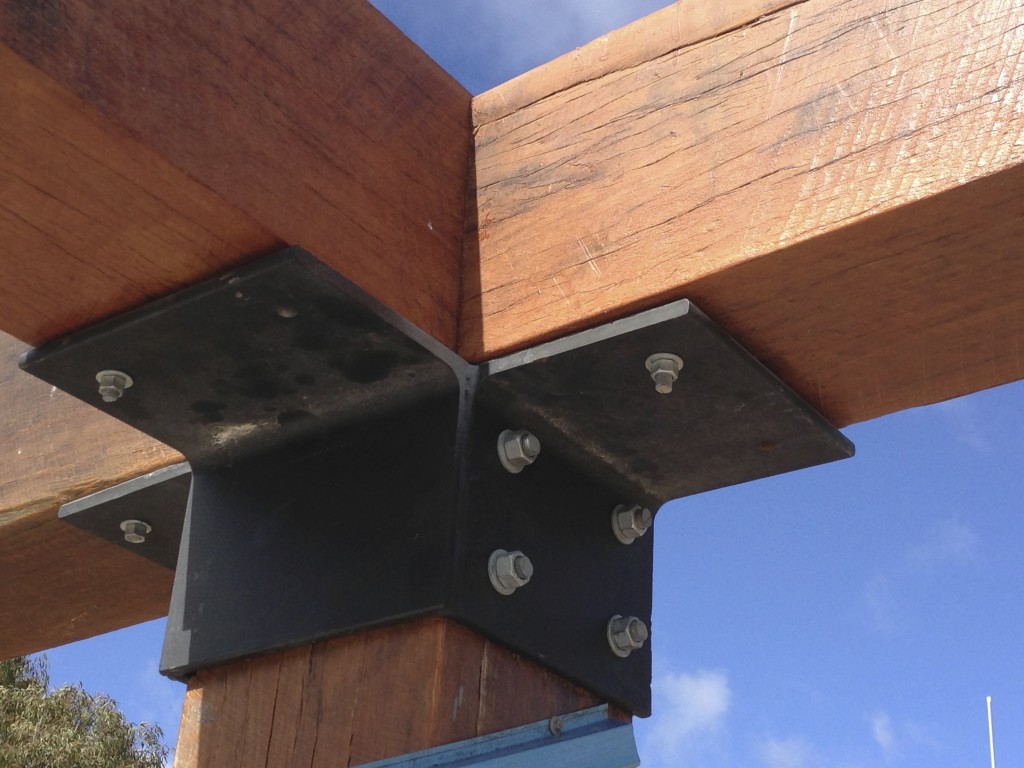
Last thing to do is bolt the whole thing off and the finished product looks spectacular.
Well that’s it for the moment folks. Keep following the build and let me know your thoughts via my Scotty Cam Facebook Page.
Won’t be long till the next update so stay tuned for part 6 coming very soon…
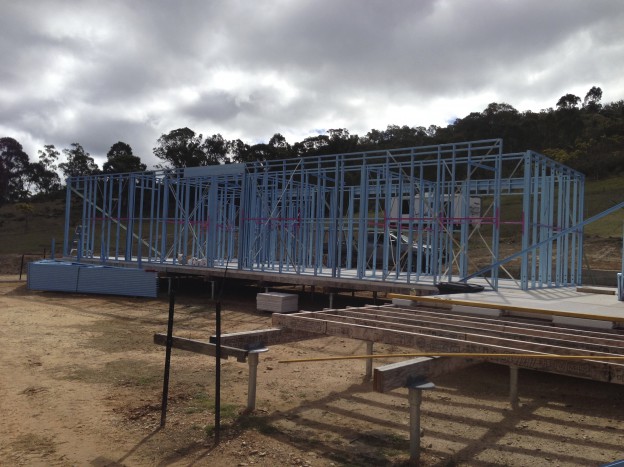
BLUESCOPE STEEL FRAMES FOR THE BEDROOMS
Here is another update on my project Follow the Build Part 6.
You would have read in Follow the Build Part 5 which was all about iron bark posts and beams.
Now I’ve always been a timber man when ... [read more]
FLOOR FRAME
I'm back with another instalment of Mudgee - Follow the Build Part 4. You would have read in Follow the Build Part 3 piers setout.
Whilst we're building the new house here at Mudgee, you would have seen the progress of my new b ... [read more]