You know when you’ve gotta leave a message for someone at home and you cant find paper or a pen?
Check out this how-to video to make yourself a little blackboard for all the family to use. It’s perfect for the kitchen where everyone can write their messages and a great idea for your shopping lists too.
Have a look at the photos below how easy it is to create this timber framed message board.

Step 1: Paint

First, you’ll need a 565mm by 900mm MDF board. Then you can paint your MDF board with blackboard paint. You can leave it to dry while you knock up your timber frame.
Step 2: Measure the timber lengths

You can now cut your lengths of timber. I’ve used a drop saw. The timber frame needs to go on the face of the blackboard, so therefore you want your frame to be slightly bigger than your board. So the outside of the frame should measure 575mm by 910mm.
Step 3: Cut the timber

I’m using mitre joints, which are quite difficult if you don’t have a drop saw. You could also use a mitre box or butt joint your joints if you aren’t confident.
Step 4: Line up the lengths of timber

You should have two long bits and two short bits to make up your frame. It’s important that all four pieces are exactly the same in length to the half mill, so you don’t throw your dimensions out.
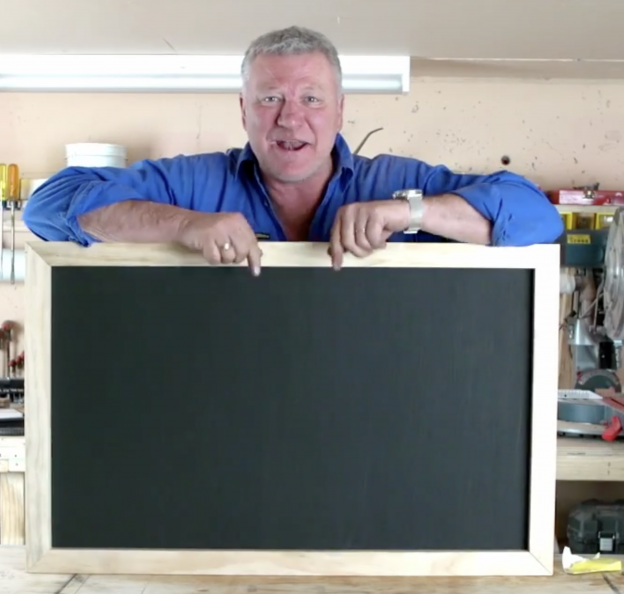
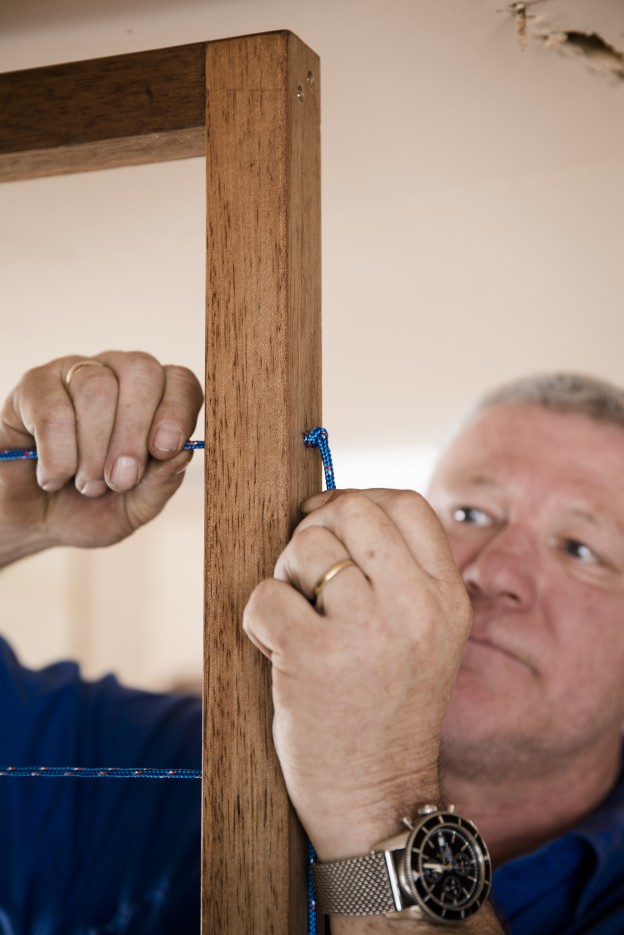
Step 5: Sit the blackboard in the frame

You can then nail the frame to the bench to hold it in position, then place the blackboard over the top of the frame, about 5mm from each edge. Now you can screw the blackboard to the frame, and you have a blackboard for the kitchen where everyone can leave their messages.
Related: Do it Yourself
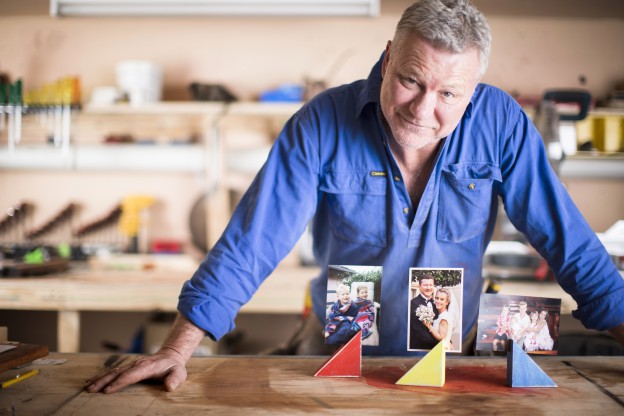
DIY Photo Holder
https://www.youtube.com/watch?v=LEnUN-yoj84 Do you have lots of photos sitting in a draw? Why not let your family and friends enjoy some of these memories? Watch this how-to video to make some simple and creative photo holders that you can us ... [read more]
DIY Magazine Rack
https://youtu.be/8iee3OCNHTg Here is a great idea to keep your magazines tidy and in order. Take a look at this how-to video of creating this easy magazine wall display. The pictures below also show how simple it is to create this timber fram ... [read more]