KITCHEN AND LAUNDRY FRAME

Here is another update on my project – Follow the Build Part 7.
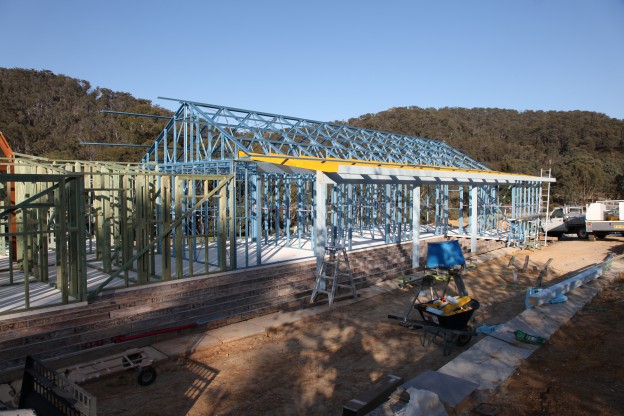
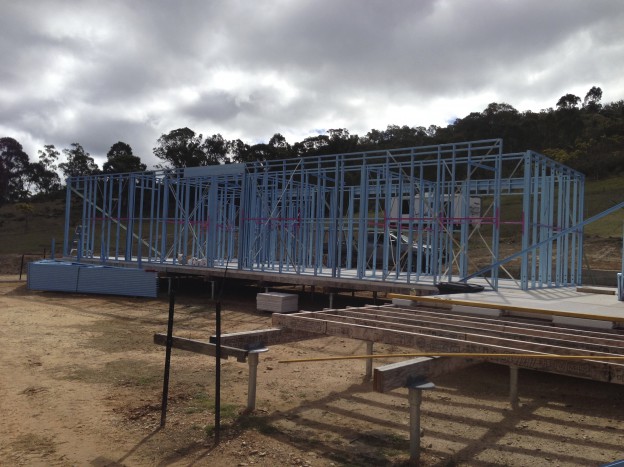
You would have read in Follow the Build Part 6 about using Bluescope Steel. Working away on the kitchen and laundry frame, it was a little different to the bedrooms as they had to be handmade on site. Sometimes what the plans say and what’s happening on site don’t always match up. Not saying that the plans were wrong, it sometimes happens when you’ve got a complicated build in joining up three areas in the bedroom, the kitchen/laundry and lounge/dining areas.

The roof lines and falls all had to tie in together to make it work. So it was timber frame on site and I think improvisation on site is the best style of carpentry and certainly when it works – it works.


Well that’s it for the moment folks. Keep following the build and let me know your thoughts via my Scotty Cam Facebook Page.
Won’t be long till the next update so stay tuned for part 8 coming very soon…
Related: Follow the Mudgee build
Mudgee – Follow the Build Part 8
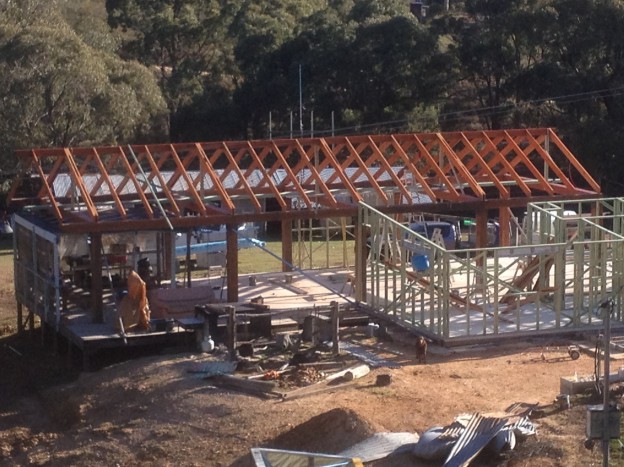
RECYCLED OREGAN PITCHED ROOF FOR LOUNGE/DINING Here is another update on my project – Follow the Build Part 8. You would have read in my last post Follow the Build Part 7 where I was working on the kitchen and laundry frame. I’ve a ... [read more]
Mudgee – Follow the Build Part 6
BLUESCOPE STEEL FRAMES FOR THE BEDROOMS Here is another update on my project Follow the Build Part 6. You would have read in Follow the Build Part 5 which was all about iron bark posts and beams. Now I’ve always been a timber man when ... [read more]